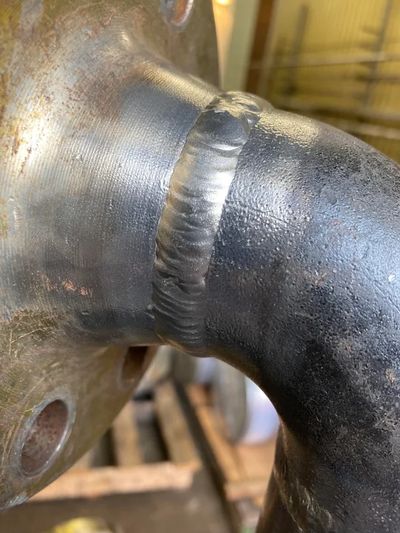
Visual Inspection

Visual inspection after welding is very useful in evaluating quality, even if other testing methods are to be employed.
As welding progresses, surface flaws such as cracks, porosity, and unfilled craters can be detected only by Visual Inspections, leading to repairs or rejection of the work.
Welds must be cleaned from slag to make inspection for surface flaws possible.
VT Inspection
It is the most popular and the most widely used of the Non-destructive Inspectiontechniques.
Completed welds should be checked according to the plans and the specifications.
The most common welds that need to be inspected in the field are fillet welds.
Fillet Welds are designed based on their leg sizes.
If the leg is under the specified dimension, then the strength required is less than what the joint was designed for.
The throat of the weld should be checked also.
General Steps Taken
A. Before Welding:
- The materials to be welded and the related standards (ASME, ASTM, );
- Welder Qualification Certificate, drawings and related documents;
- Welder equipment and electrodes, including storage and drying systems;
- Welding edge preparations and correct bevels;
- Root openings;
- Clearance of backing strip or ring;
- Overall alignment and fit up;
- Welding Procedures during the welding
B. During Welding:
- Preheat and inter-passing temperature;
- Cleaning, chipping, grinding or gouging;
- Structural defects and discontinuities;
- Post-heating temperature, when specified.
C. After Welding:
- Dimensional accuracy of the weldment, using fillet weld gages or rulers, as shown above;
- Conformity to drawing and procedure requirements;
- Acceptability of welds with regard to appearance and fabrication quality;
- The presence of any unfilled craters, undercuts, cracks, overlaps;
- Post-heating temperature, when specified.
D. Weld Joint Preparation:
The first step in making a sound weld is to make sure the joint is correctly cleaned using a stiff wire brush or a grinder for cleaning the base metals.
The portion of the base metal to which the ground clamp will be attached must also be cleaned.
Poor contact with the ground clamp will create resistance in the welding circuit and could result in poor weld quality.
This website uses cookies.
We use cookies to analyze website traffic and optimize your website experience. By accepting our use of cookies, your data will be aggregated with all other user data.